
Tile
Some renovation jobs are more rewarding than others. At the very top of that list is tile. Homeowners shy away from tile, and I’m here to advise you to try a tile job on for size and see if it doesn’t scare you off. It shouldn’t. But be warned: there are things to embrace and some to avoid. Here are a few things to keep in mind when approaching a tile job, and these are the reasons most people don’t want to do the work.
Go Buy Tools.
You will need a tile saw. You’re welcome…I just gave you permission to buy a new tool! They’re kind of fun.They resemble a table saw but are far less dangerous on account of the very dull blade. And they are cooled by water so tiles don’t crack while cutting. You’ll probably get a little wet. Set it up outside. Hopefully it’s not winter. Other than that, the tools are simple: a carpenter’s square, inexpensive trowels, a few buckets and sponges, some pencils.
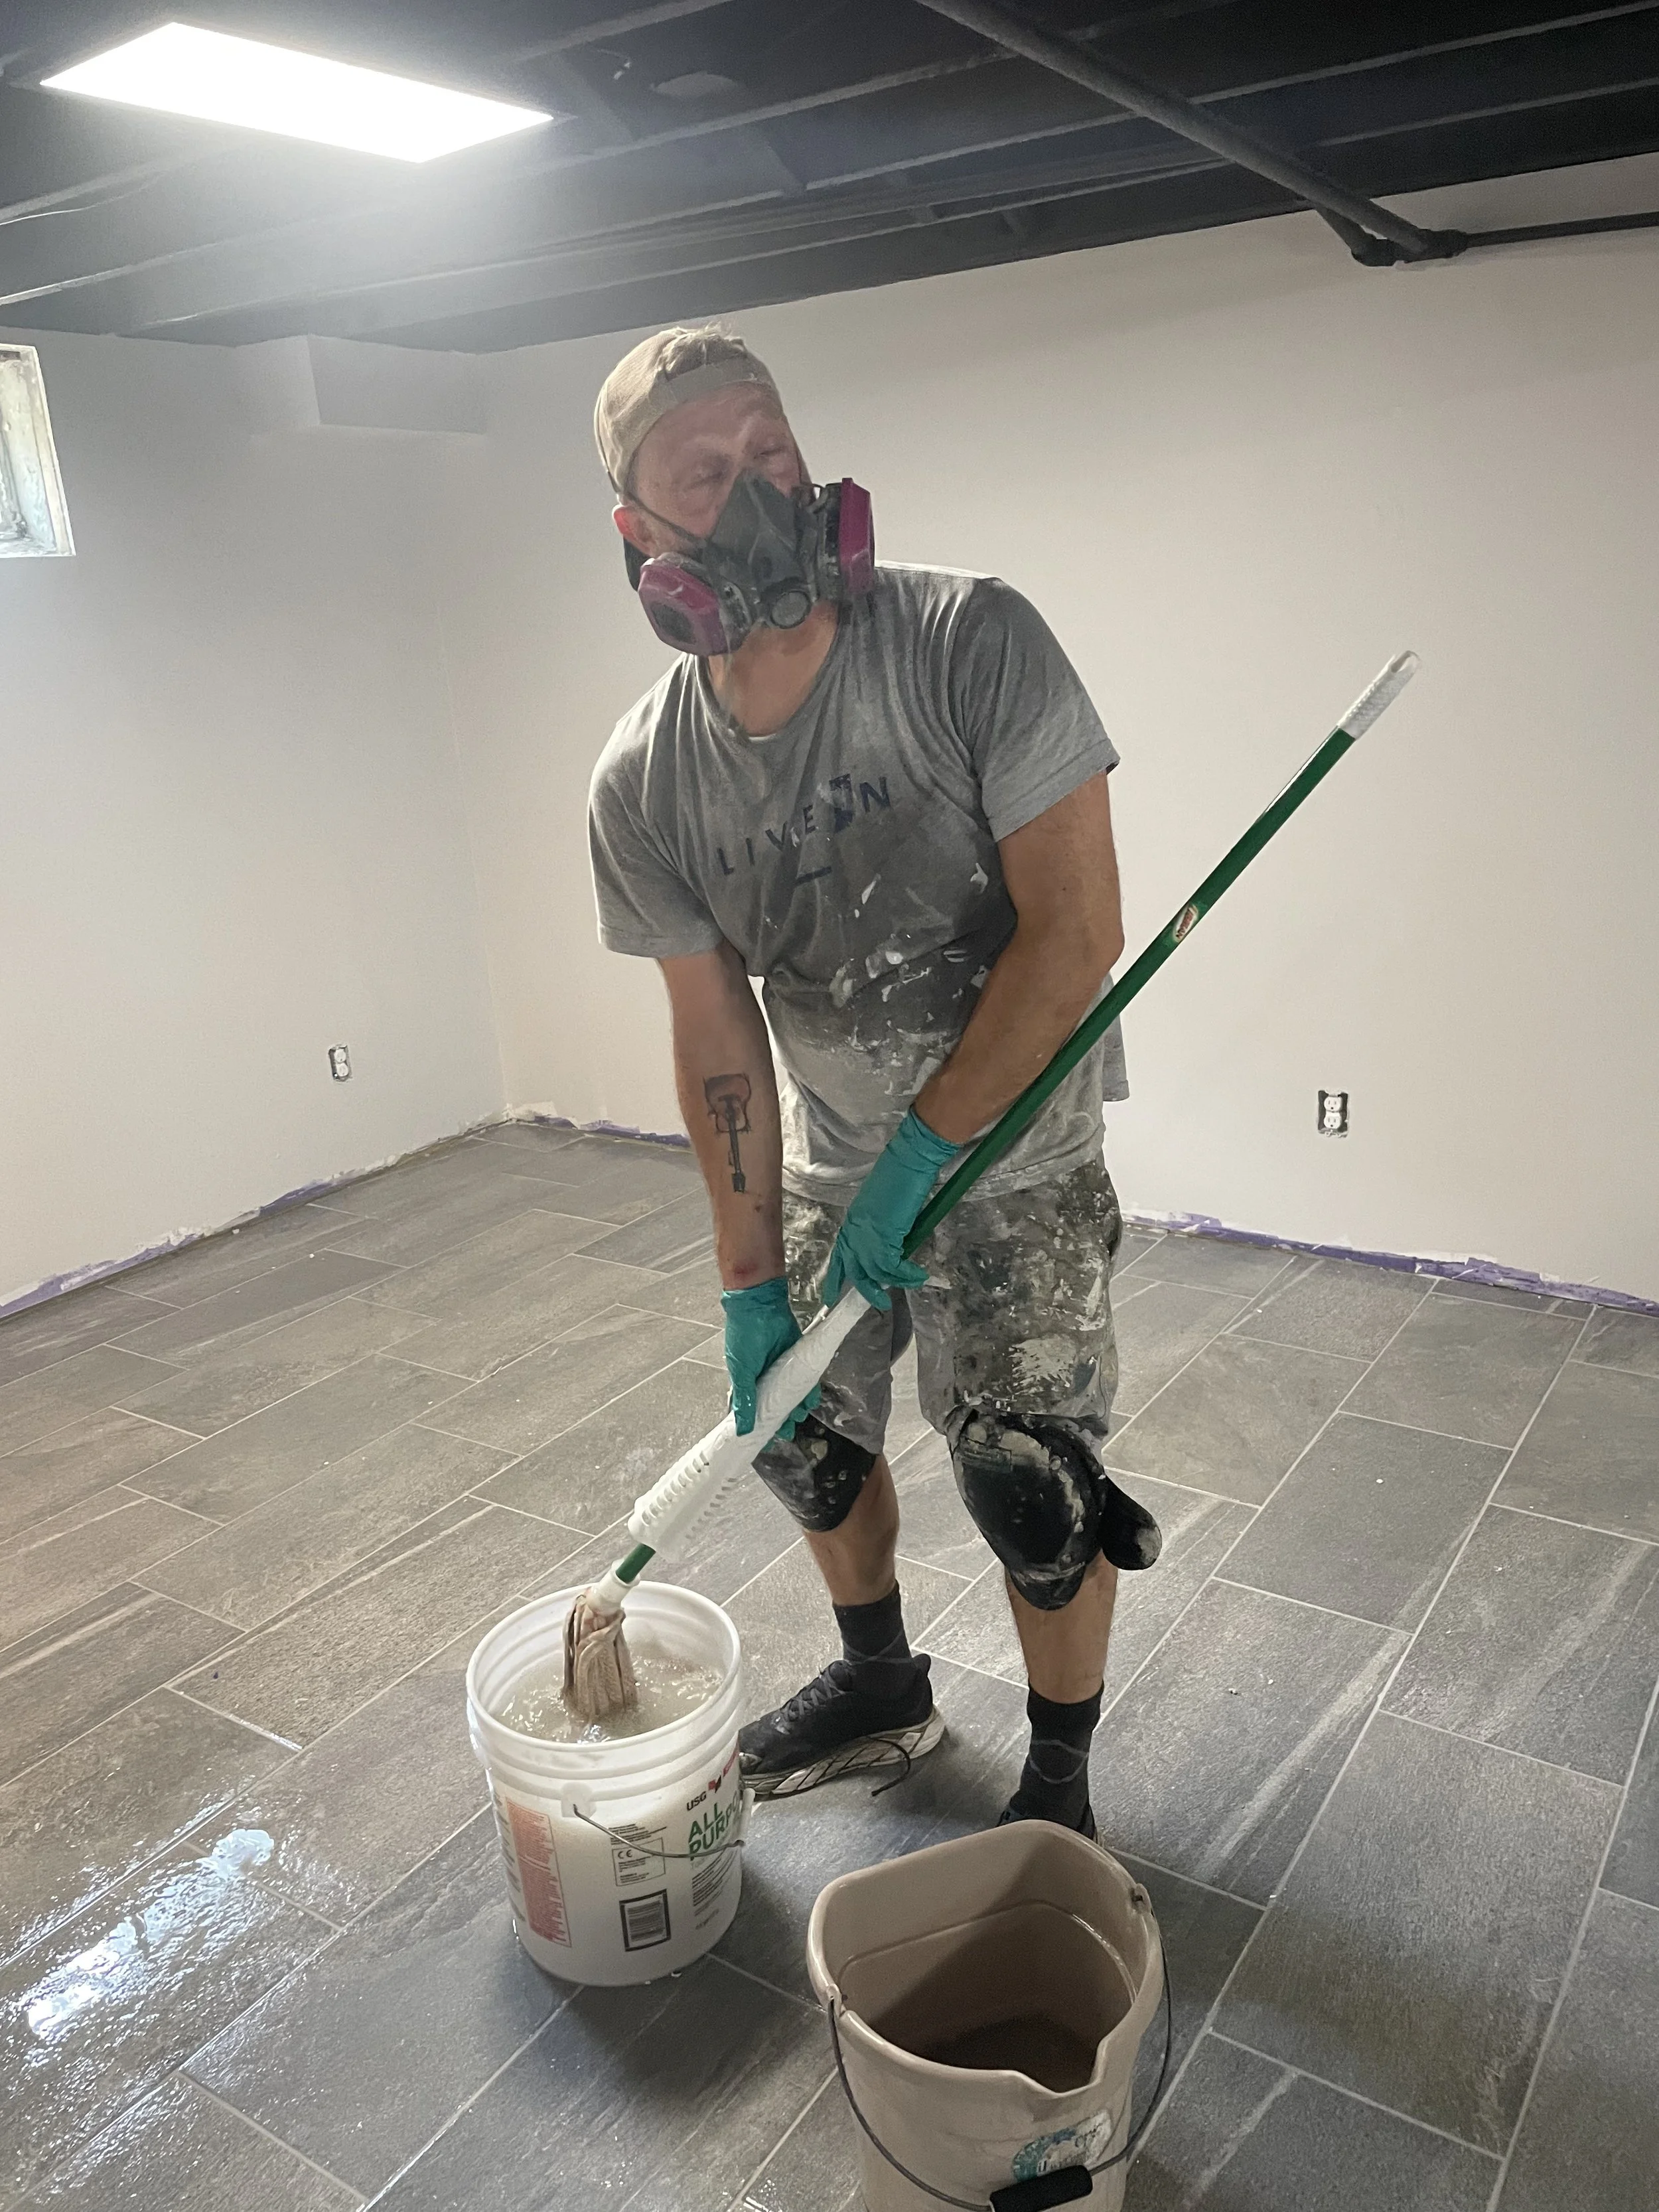
It’s messy.
Mixing mortar involves heavy bags of mortar mix (and later, when the end is near, grout.) It’s very easy to add too much water to the dry mortar mix, and at first, it may not be obvious what the consistency should be. Borrow a powerful, corded drill such as a hammer drill with a huge egg beater attachment to mix it up, and inevitably, you’ll fling it on something, so mix it outside (not next to the car.)
Achieving perfect mortar consistency is like making pancake batter— it’s thick, not too thick, and you’ll know it when it’s there (maybe.) On my very first tile job, a bathroom floor, I called a friend because I had no idea how thick it should end up. He told me to shoot for the consistency of batter. I did, and it worked. Like anyone else I thought to myself, “Well, ok, then. That all seems fine, but what if it isn’t?” (It is.) The only consequence of mixing batter too thick is that it might dry out in the bucket before it’s all used. The only consequence of it being a little too thin is that it will take longer to dry. You’ll figure it out.
When troweling on the mortar to the substrate, it’s easy to use too much. When you do, mortar will squirt up around the edges of the tiles. Diligently remove as much of that excess with a wet sponge while the mortar is still wet and you’ll thank yourself later. Excess will dry and turn into concrete. Not fun. I like to use an old toothbrush to clean up the grout lines between tiles.
At the very end, after grout has been applied between tiles, there will be a lot more sponging, wiping, and hopefully not scrubbing (you’ll only be scrubbing if you leave mortar or grout on the tile surfaces.) Probably more than you would expect. If you’ve been heavy handed with the grout and have left too much, you may need to come in with a strong acid to undo what you did. Not fun, and not good for your health, but doable. Just keep it as clean as possible through the process and your future self will thank you.
Surface preparation is key
Once I built and tiled a shower from nothing. The existing walls were a little bowed, which my contractor friend Dale demonstrated to me with a long level. If he hadn’t shown me I wouldn’t have noticed and if we had left them bowed, the tile wouldn’t have set flush on the wall. It would have turned out terribly; tiles are unforgiving when it comes to laying down flat. One little grunion of debris can tilt a tile up and make it rock, and if the surface isn’t flat the only other option is to try to compensate with more mortar underneath, which can be a dubious approach. Better to make it dead flat to start with.
Many applications of tile require a cement board substrate underneath the tile. This helps with the “dead flat” problem and makes things waterproof when they need to be. Be aware that the board will add ¼” to a floor height, and the mortar will add more. So, you may need thresholds to address transitions. Whenever possible, I try to avoid any difference in floor height. This can be accomplished by removing old flooring (please don’t just tile over the top of old flooring.) As needed, the old subfloor can be pulled up and replaced with sheeting that is ¼” thinner than the original. Remember to pull up every single old screw, nail or staple; if you don’t, the tile will remind you that you missed them.
Put a lot of thought into sight lines
Establishing the sight line, or the pattern of the tile, is crucial. The lines need to square up with the room, cabinets, doorways and such. This is a step which, if done poorly, can reveal you as an amateur. Pros do this so well you’ll never even think about the sight lines in a tile pattern, though I’ve come to appreciate this part enough that I specifically look for them.
The placement of the very first tile sets up everything else, so think through it. It’s a keystone and is only something you’ll notice if you get it wrong. This is the case with so many jobs in life: the pros have awareness of these nuances and create a finished look that doesn’t draw attention where it isn’t wanted. I’m no pro, but I’ve learned enough from actual pros to have this insight. One tile job I completed was only about 200 square feet, a landing right inside a front door, but I visualised the layout for weeks while trying to fall asleep. I’m glad I did, because it turned out perfect.
Choose Your Battles
I’ve done enough tile at this point to know when I don’t want the job. I haven’t taken on a subway tile project in a while and don’t plan to; subway tile is less expensive and will entice you with cost saving, and will bite you back in tedium. Large floor tile is my favorite to do because you can chunk it out one big wallop at a time. It’s fun to take big bites. The planning and surface preparation takes most of the time and once it’s time to lay tile, it progresses alarmingly fast. When there’s little tile cutting to do, even more so.
I stare at tile work everywhere I go– restaurant bathrooms, my friends’ houses, and at every house I tour with clients. The disregard for symmetry, clean grout lines, and spacing can be shocking. And these are jobs done by professionals. Comparing my work to theirs has empowered me to keep tiling because I know I can.